 There is something very magical about gold jewelry.As much as any of us try to avoid it, we can’t help but be drawn to this stuff.
But have you ever wondered how artisans turn raw gold into beautiful gold jewelry?Let’s find out.
As you’ve probably figured out, the first step is to actually melt some pieces of pure gold.Since gold is so valuable, any and all old gold shards are often used.
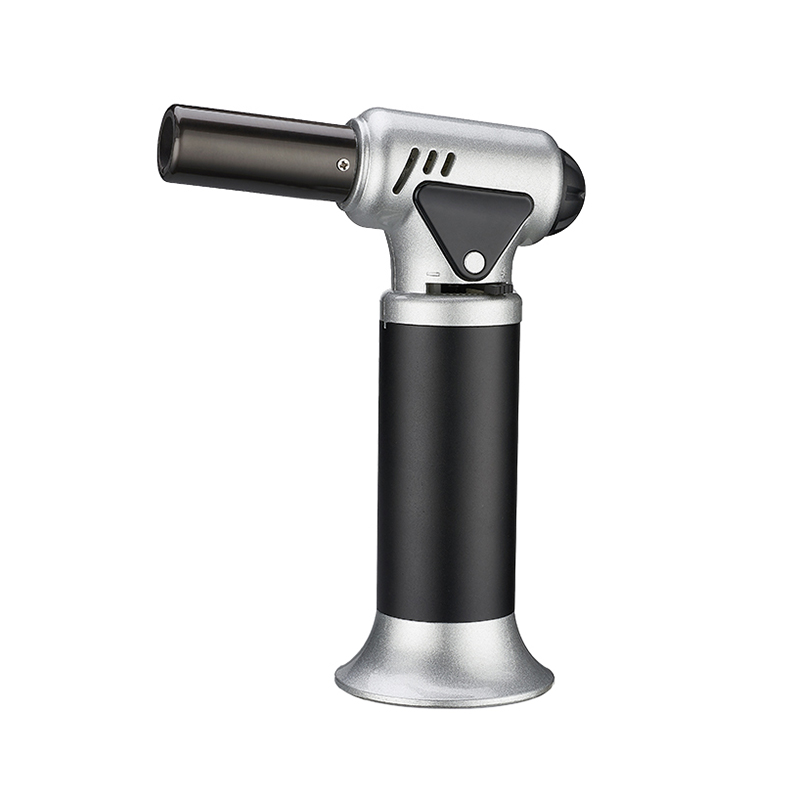
Gold powder and bullion are first measured to know the total weight, then placed in a small crucible, mixed with flux and another metal to make an alloy, and heated directly using a blowtorch.The purest gold you can usually use to make jewelry is 22 carats.
Use some metal tongs to manipulate and shake the crucible until the nugget is completely melted.The molten gold is then poured into a small mold to make small ingots to make jewelry.
Once formed into an ingot, the gold is further heated (technically called annealing) and gently stretched into thin wires.While still hot, depending on the final design of the piece of jewelry (the latter in this case), the wire is pulled through a roller machine to make it cylindrical or flattened to make a piece of gold.
Once flaked, the gold is further heated, cooled and cut into more strips.In this particular case, the gold tip will be used to form a border around the gemstone.
Since gold is very soft like metal, gold bars can easily be formed into rings.The ends of the gold bars are then held together using special solder.Gold pieces can also be trimmed to form a mounting “plate” for the gem.
In this case, the gold is trimmed to size and then filled into the shape.All gold and gold shreds are collected so that they can be recycled later.Gold plates can also be lightly hammered into shape with a small hammer and anvil.
For this piece, the ring (and gemstone) will be mounted between two gold plates, so it will need to be reheated with a blowtorch.
Then add more gold solder and solder gold rings to the board as needed.When done, hollow out the gold plates by lightly sawing the middle of each gold plate.
The exposed holes are then refined using some basic tools.As before, all excess gold nuggets are captured for reuse.
With the main decoration of the ring now more or less complete, the next step is to form the main ring.As before, a gold bar is measured and cut to size, heated, and then formed into a rough ring with tweezers.
For other decorations on this ring, such as braided effect gold, the gold wire is thinned to size and then twisted using basic cracking tools and a vise.
Braided gold is then placed around the base of the main gemstone on the ring, heated and welded.
Once any gold pieces are finished, each piece is carefully polished using a rotary sander and by hand.The process needs to remove any blemishes on the gold, but not so aggressively that it damages the gold itself.
Once all the pieces are polished, the craftsman can begin to finish the final piece.Mount the ring stand on some iron wire.Then, put the finger mounting ring in place with some gold solder and use a spray gun to solder in place.
Add reinforcement in places using small gold arches hammered and then welded in place as needed.
The ring is fine-tuned before the final setting of the gemstone, which is then pushed into place.To hold the gemstone in place, the gold setting ring is then lightly hammered around the gemstone.
Be very careful not to crack the gemstone when doing this.Once happy, the artisan uses increasingly finer files to complete the piece and make it a true work of art.
Once done, the ring is given a final series of polishes using a polisher, hot water bath and polishing powder.The ring was then ready to be displayed and eventually sold to its lucky new owner.

Post time: Jul-05-2022
